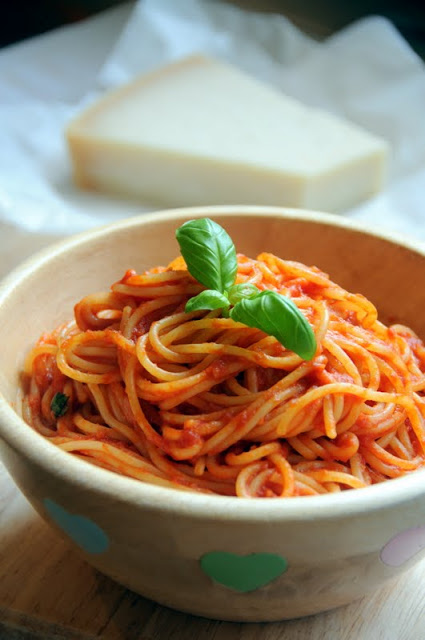
Risotto Caprese with Tomato, Mozarella and Basil (Gennaro Contaldo)
Ever since my trip to the Po Valley with Riso Gallo to understand more about how rice and other grains are…
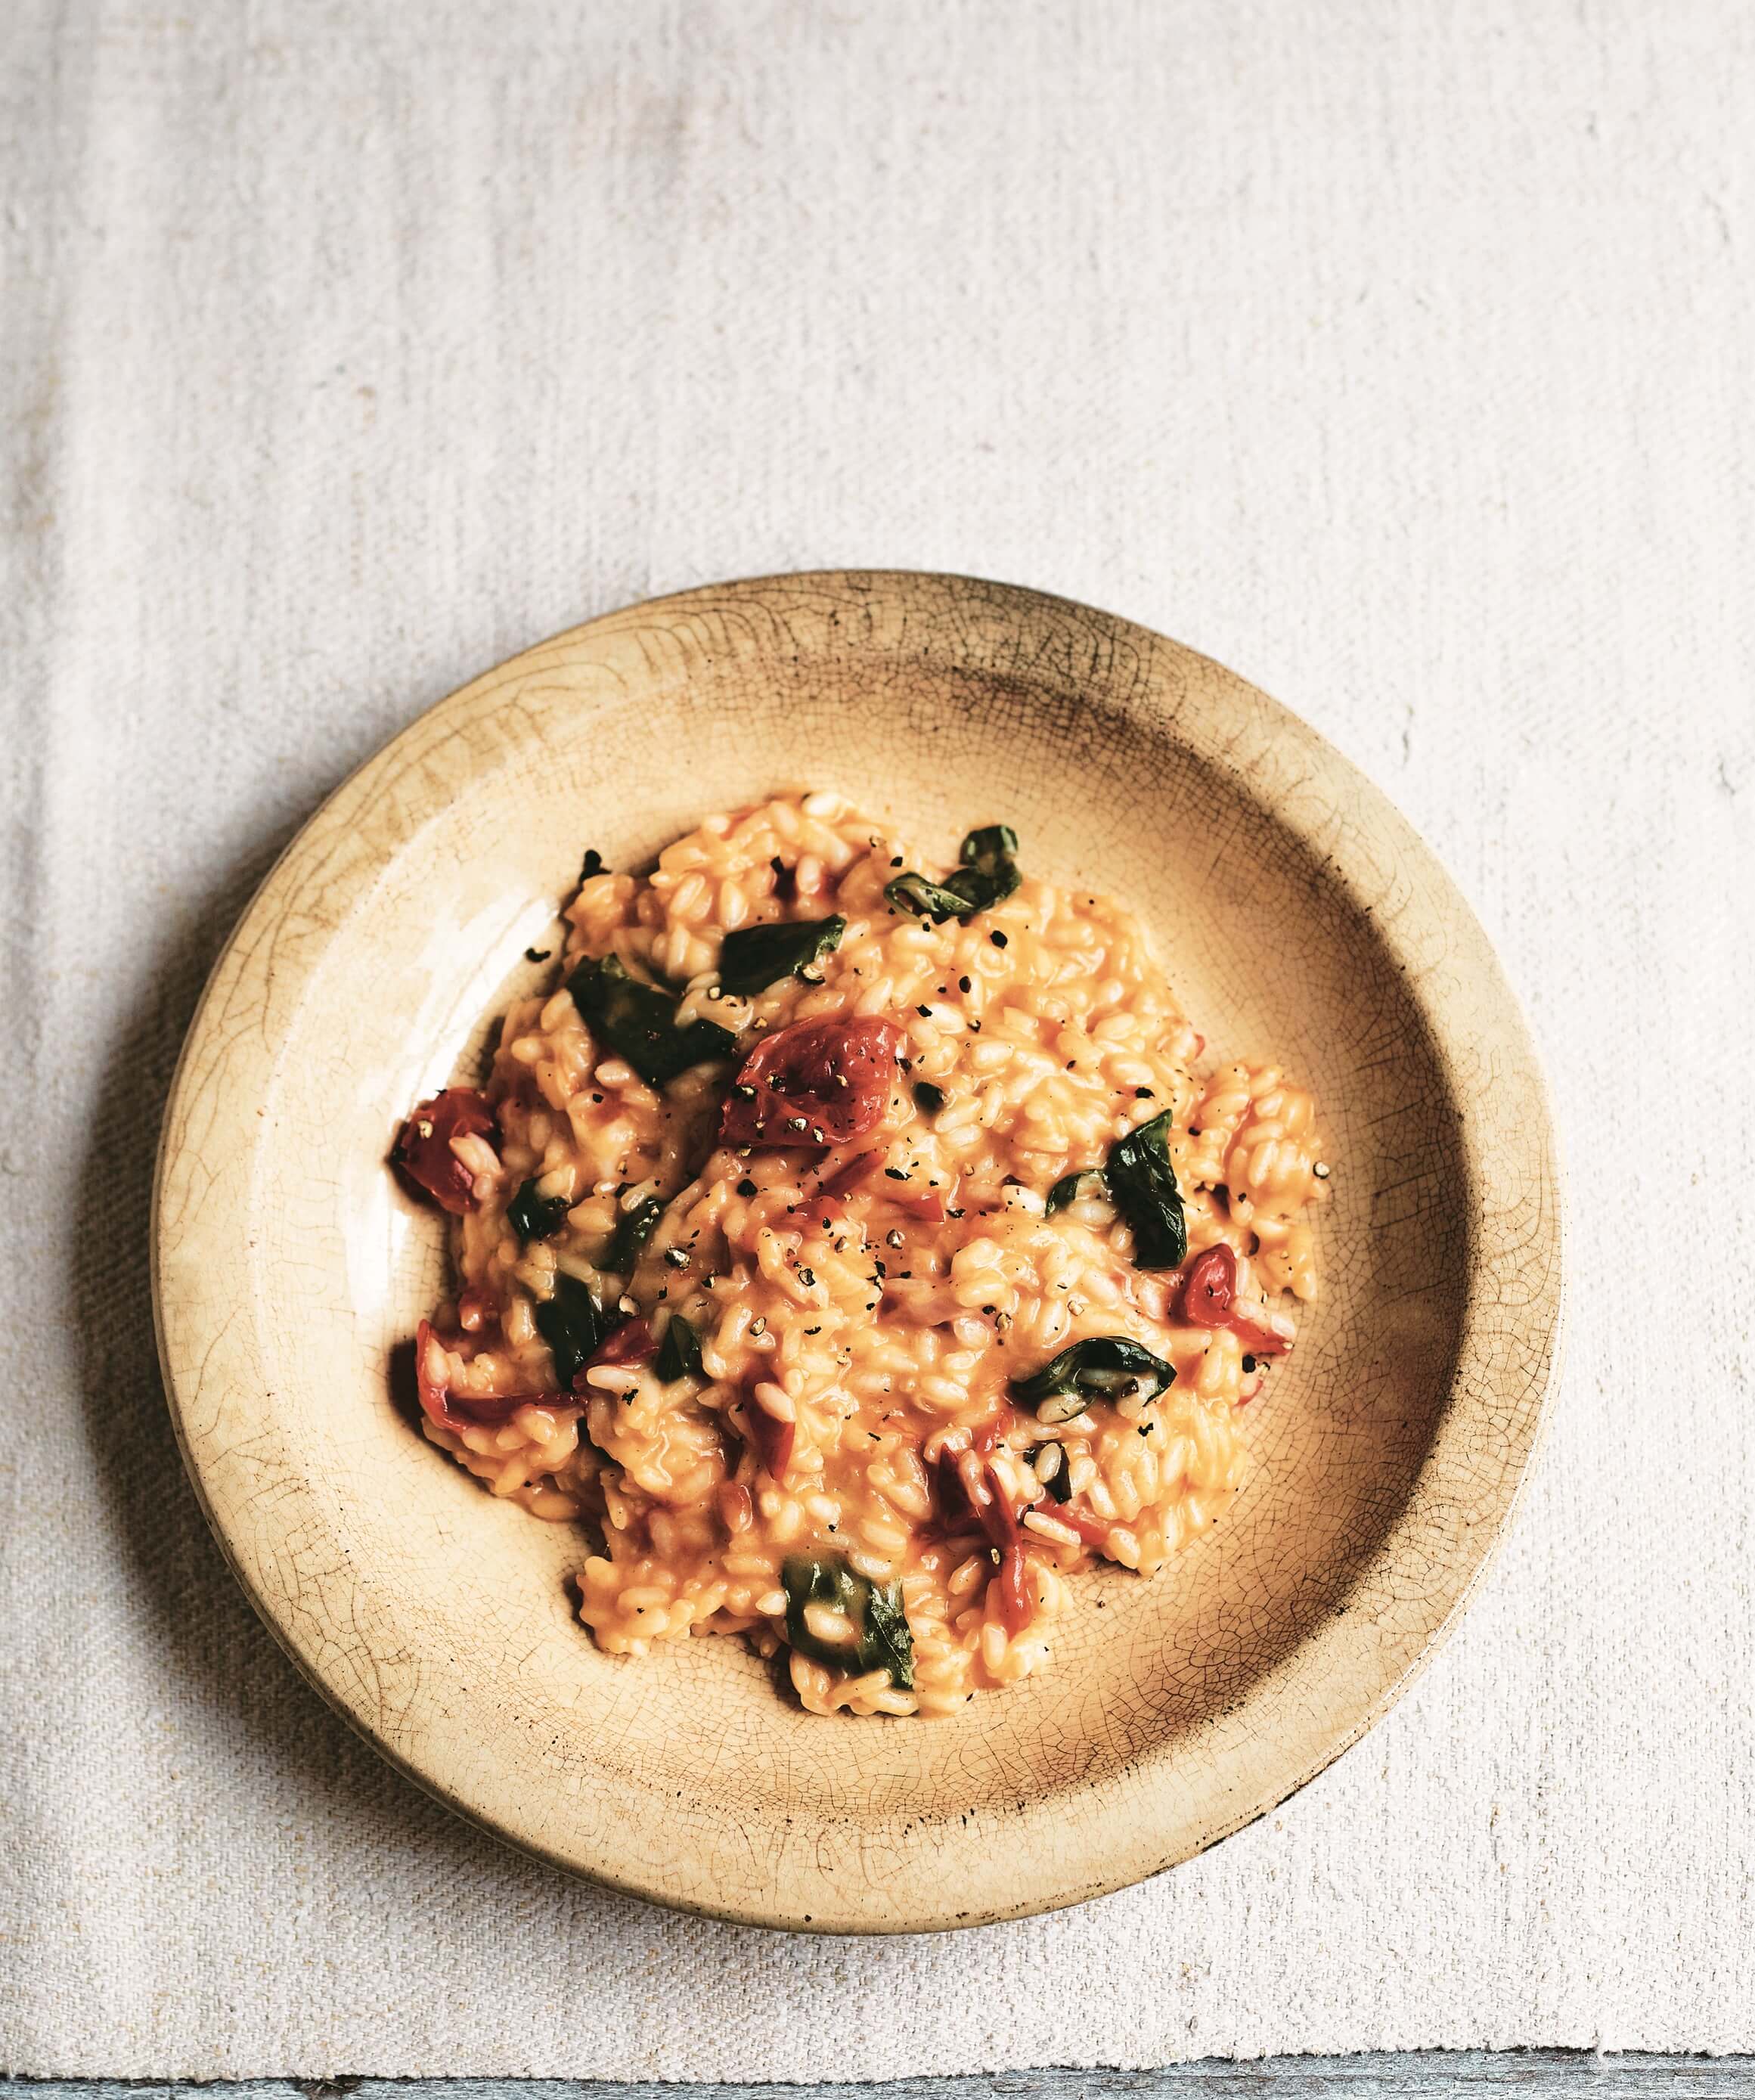
Ever since my trip to the Po Valley with Riso Gallo to understand more about how rice and other grains are…
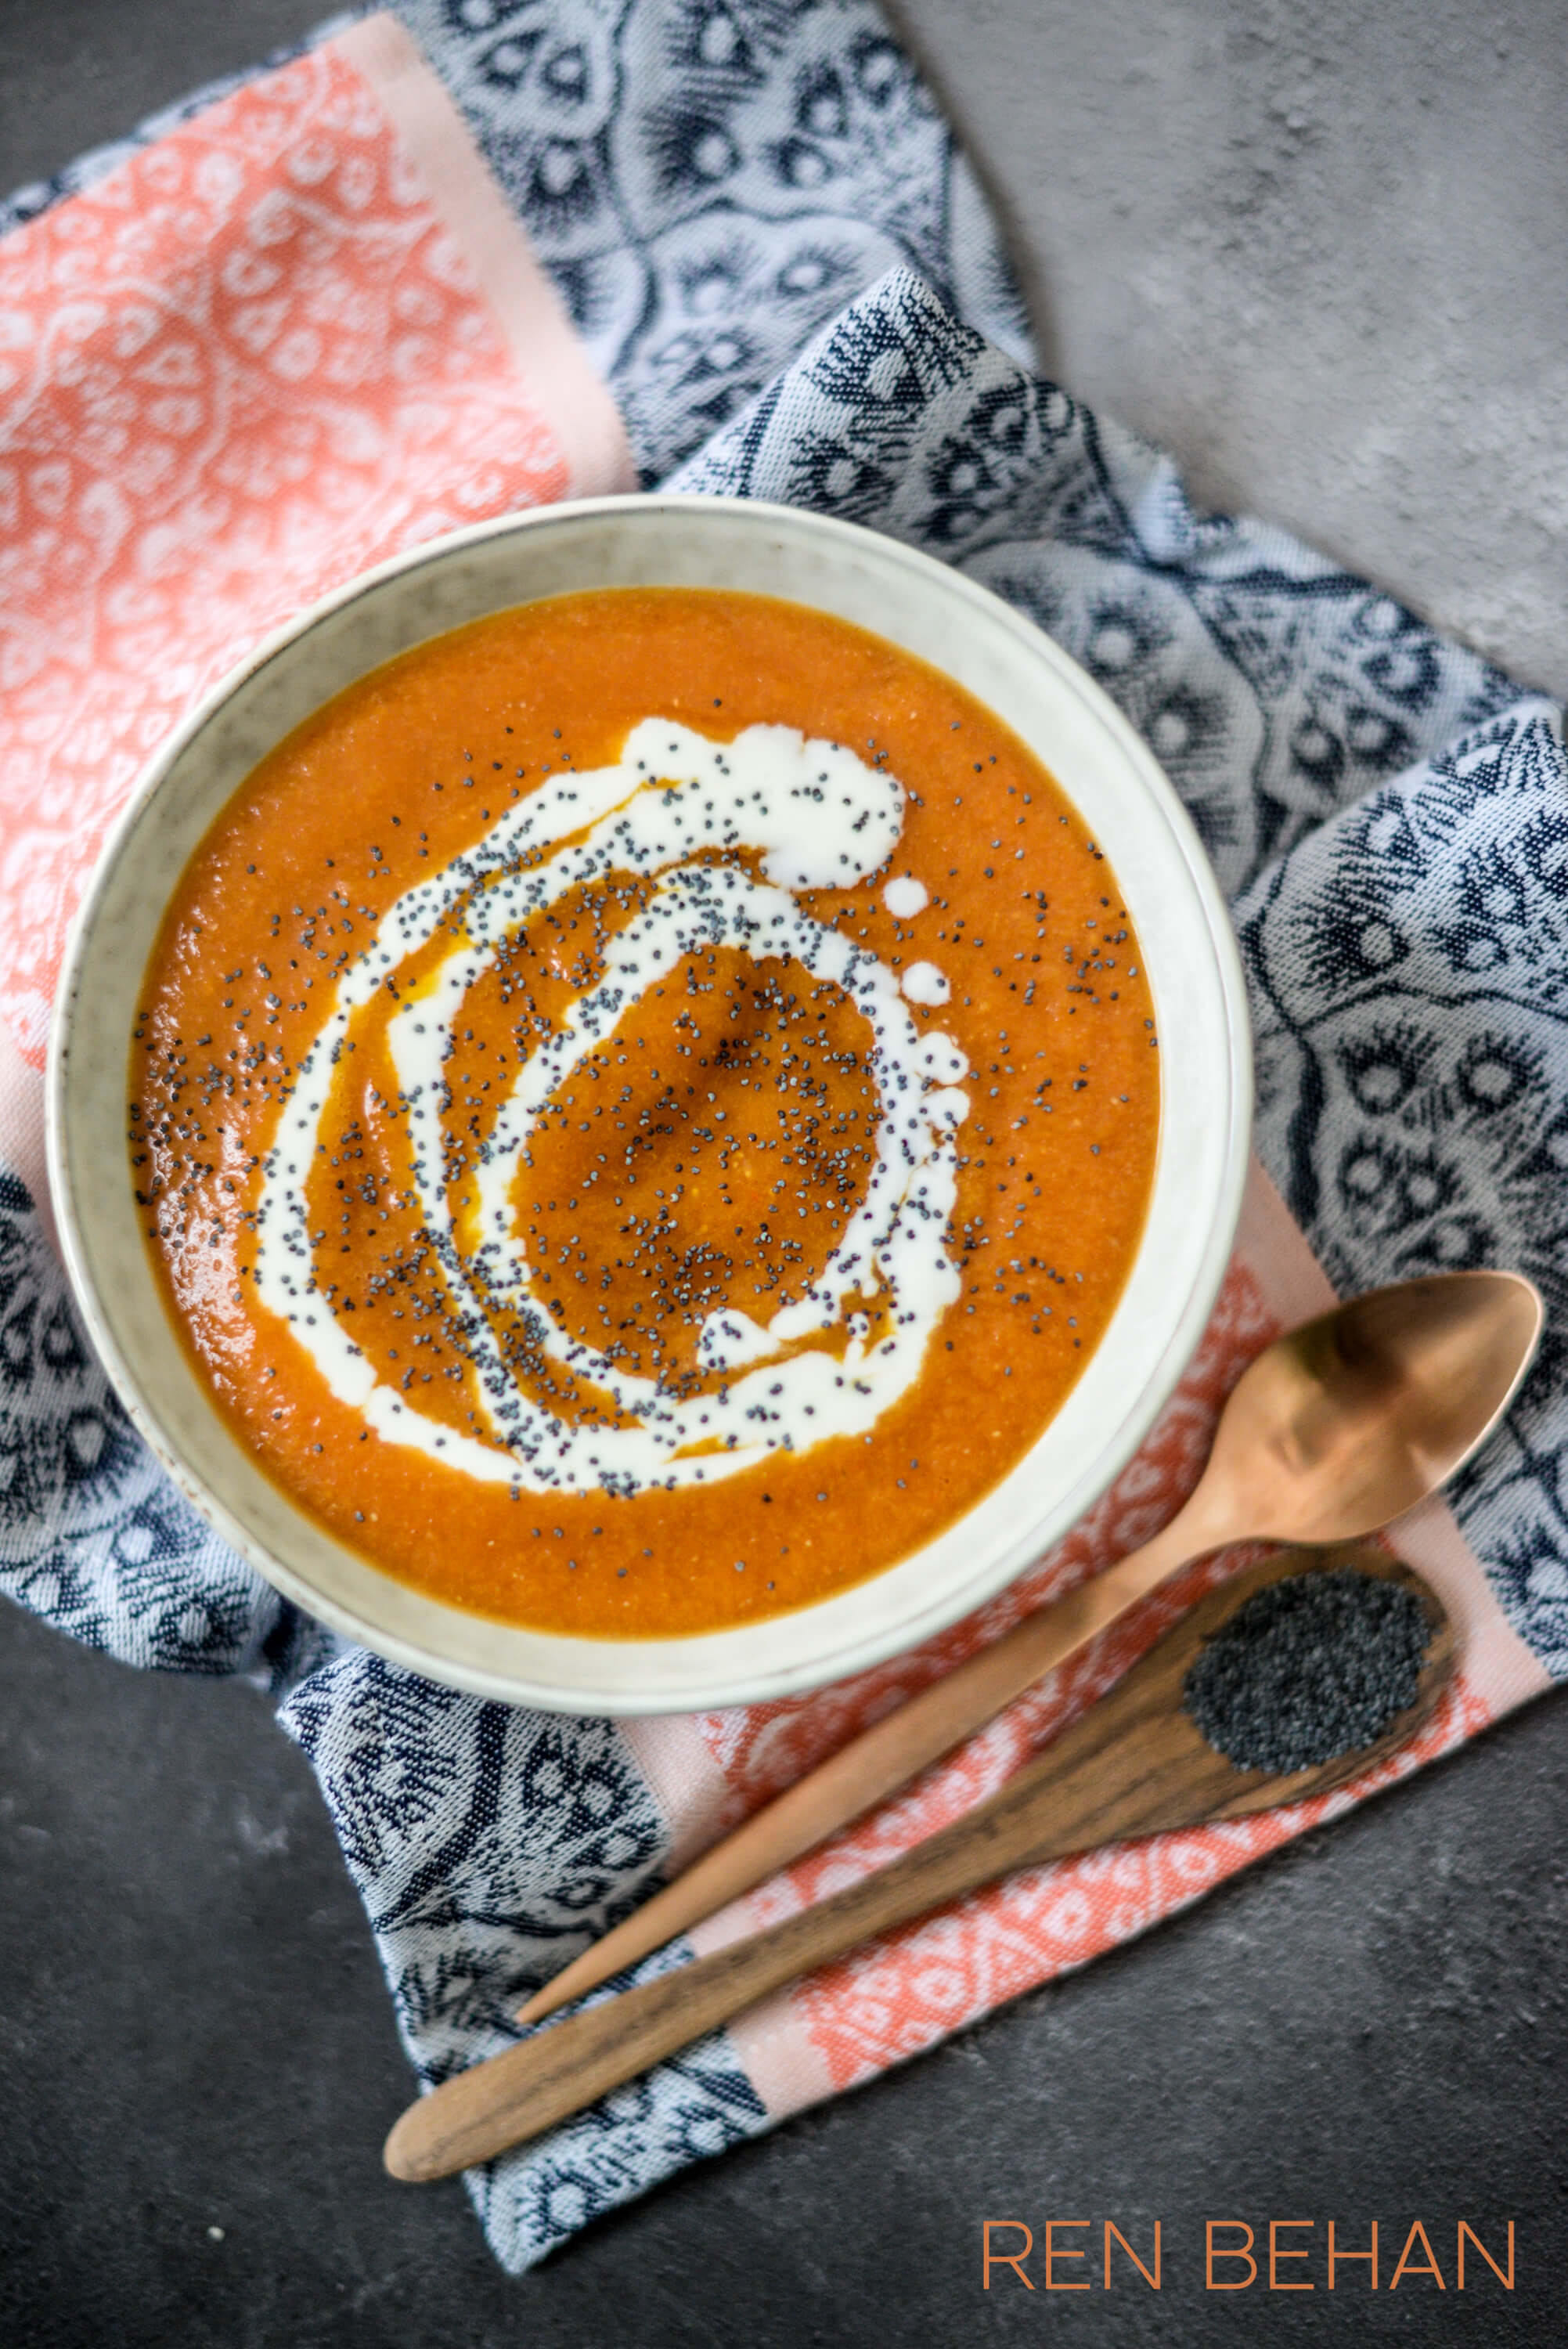
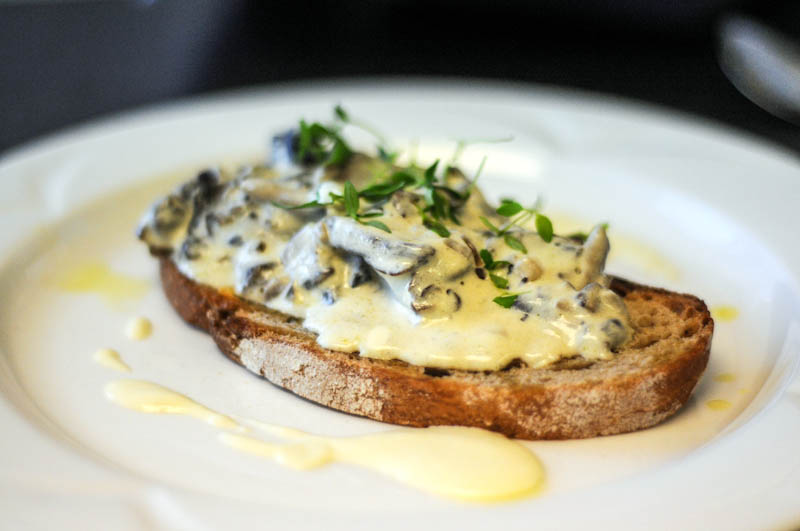
You can make this soup with fresh pumpkin, or butternut squash. Kefir is a gut-friendly dairy produce, but you can…
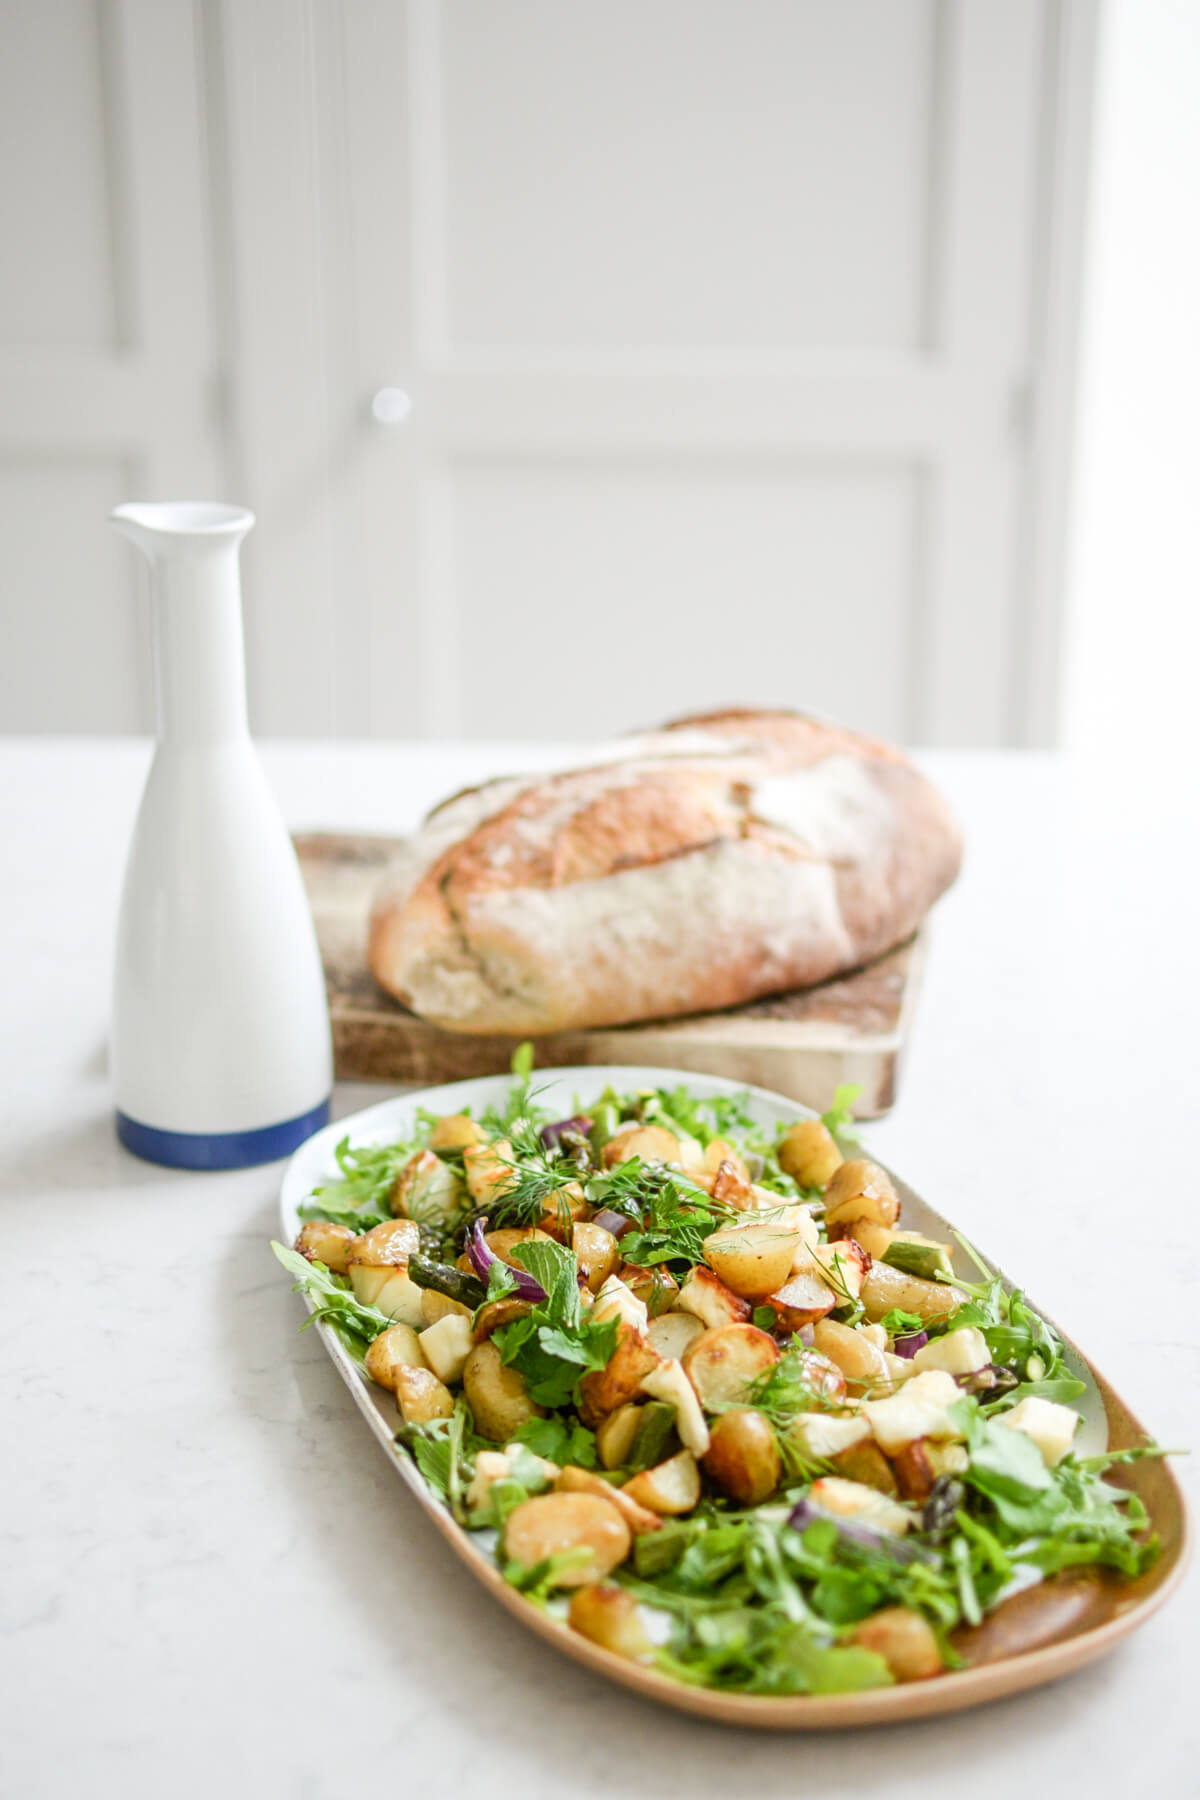
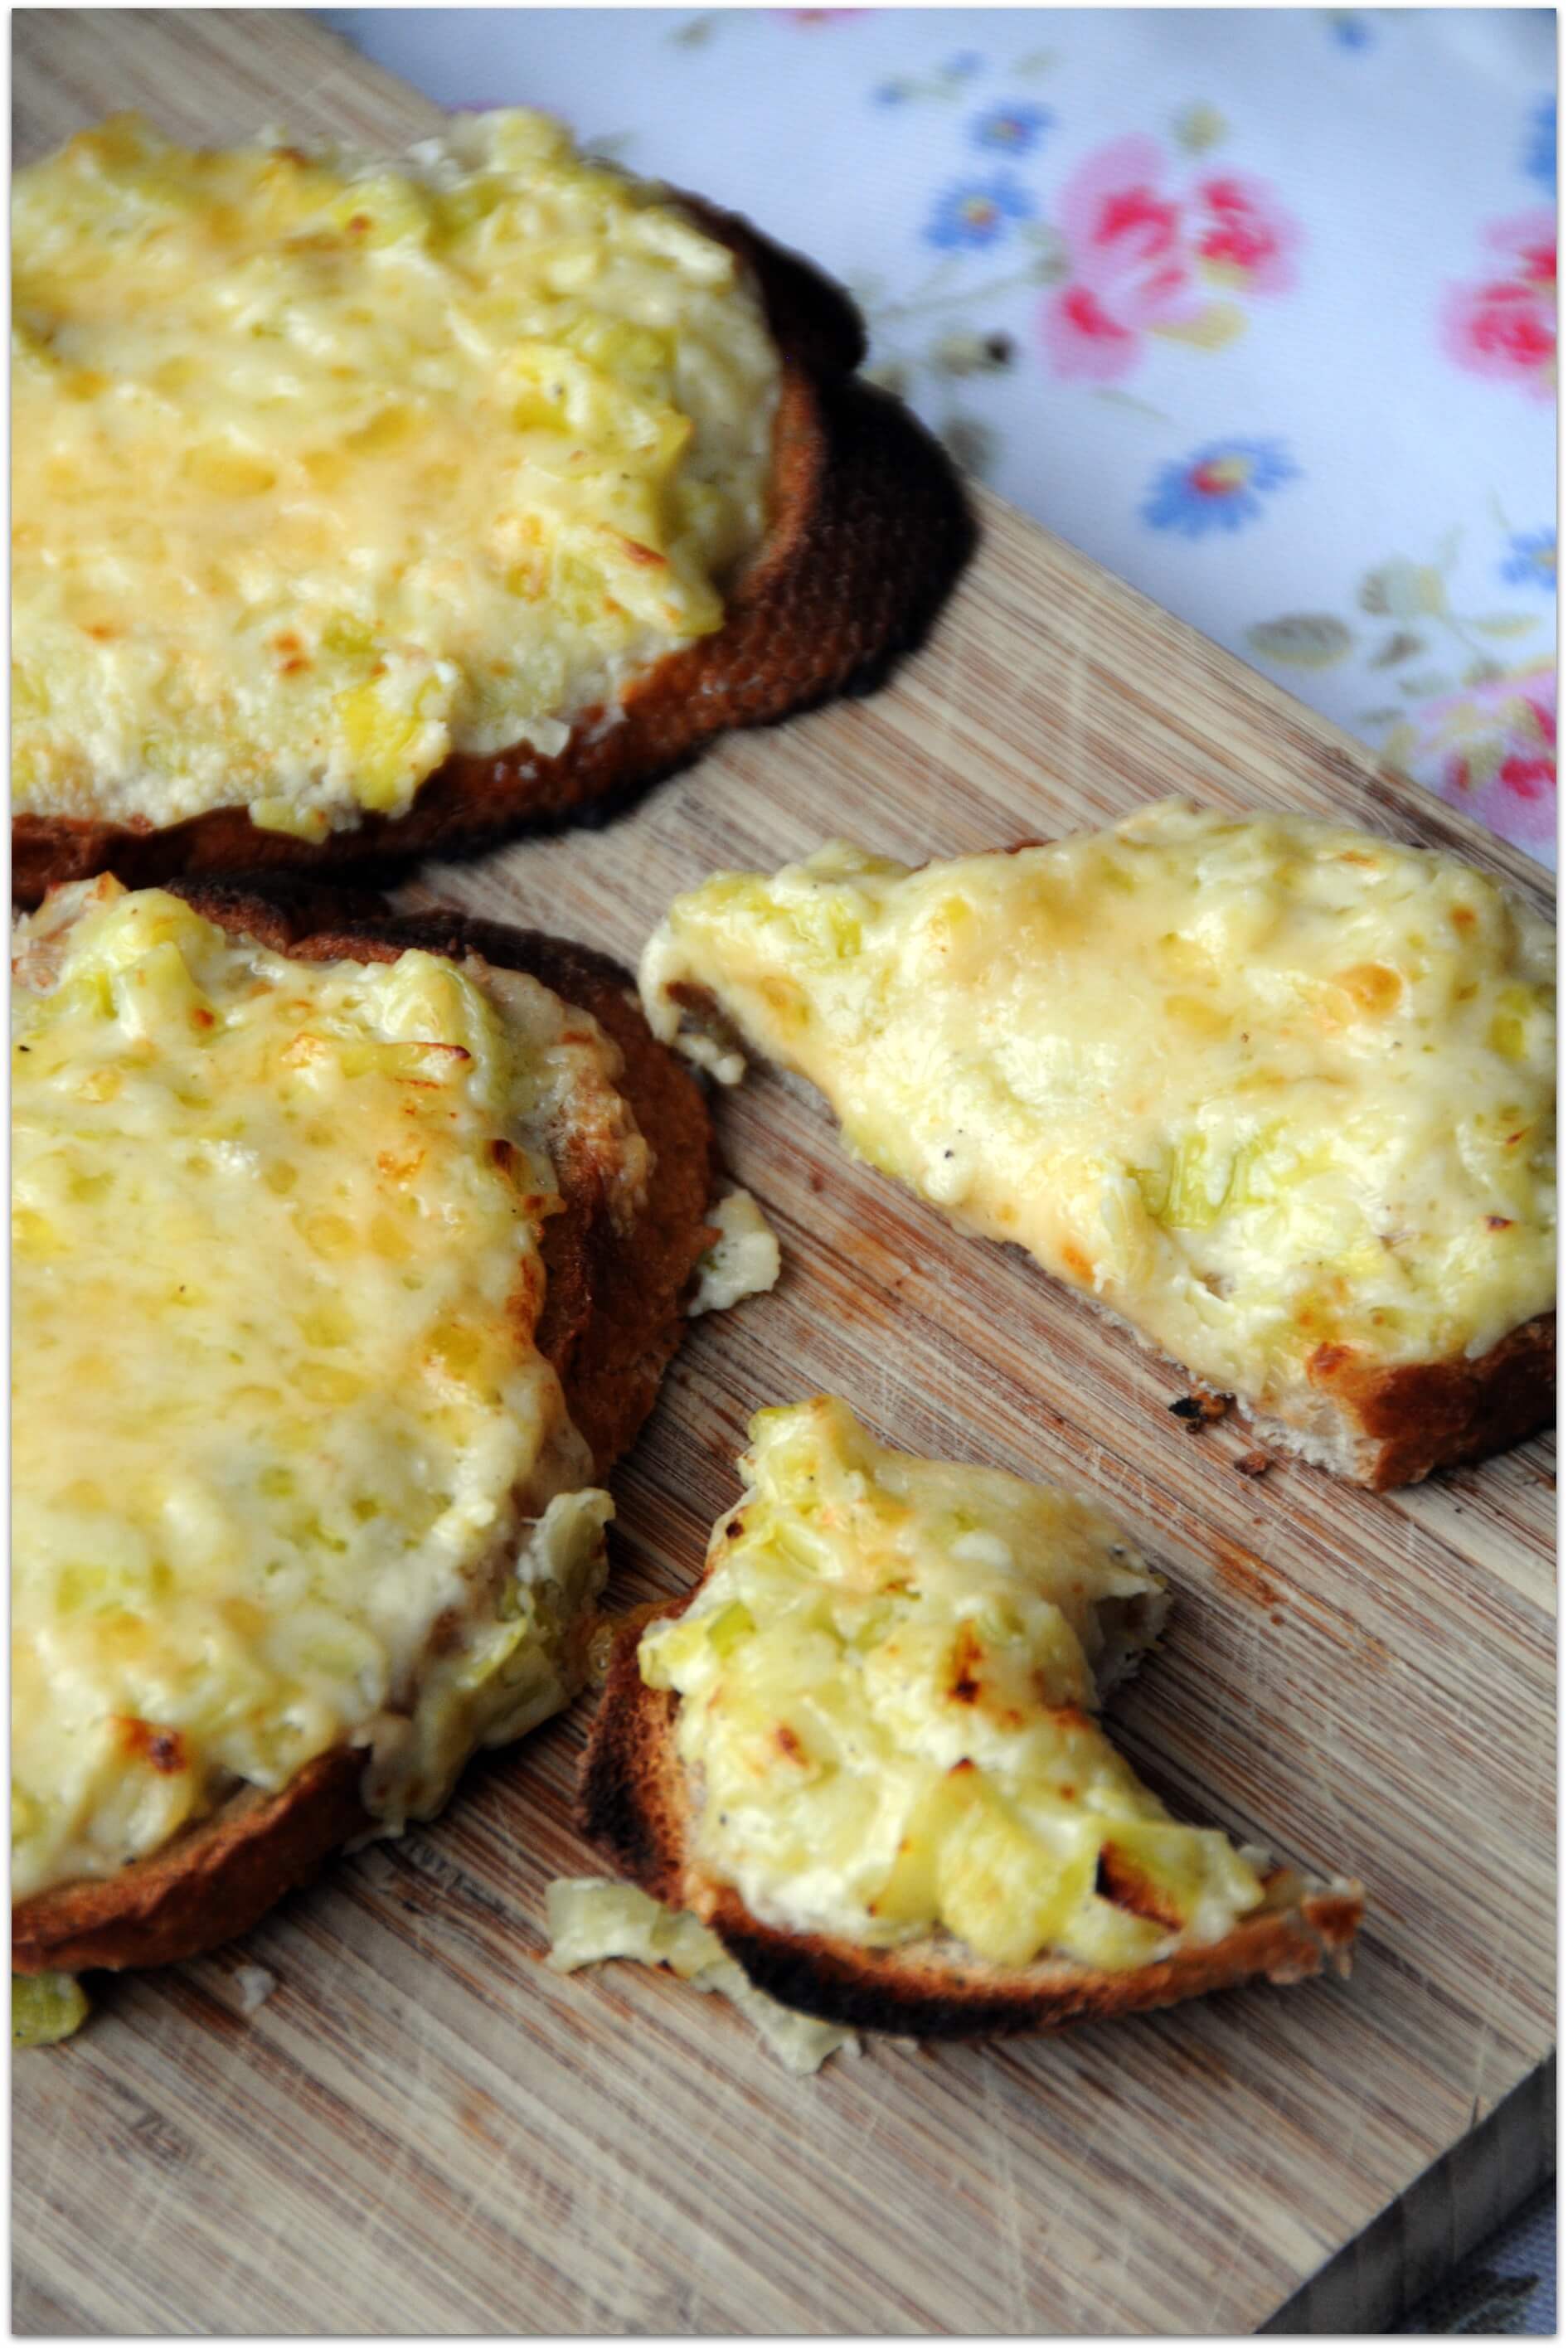
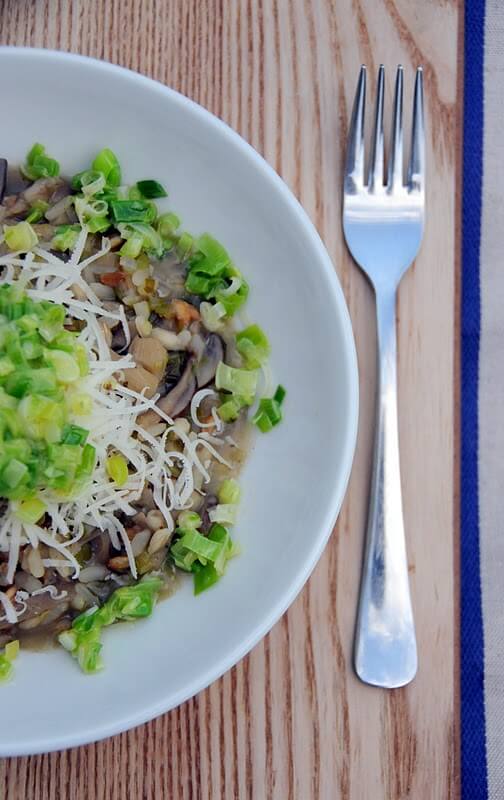
The asparagus season runs from April to June here in the UK. You can also use courgettes in place of…
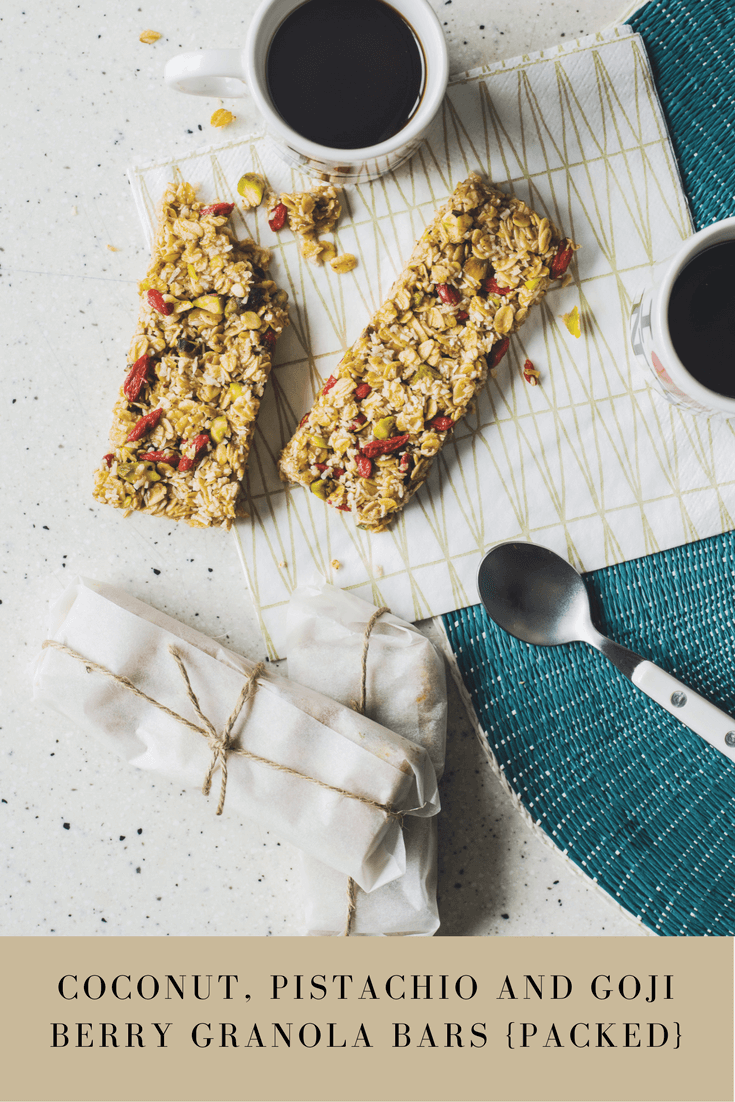
You can read my full review of Packed, by Becky Alexander and Michelle Lake, published by Nourish Books here. Today,…
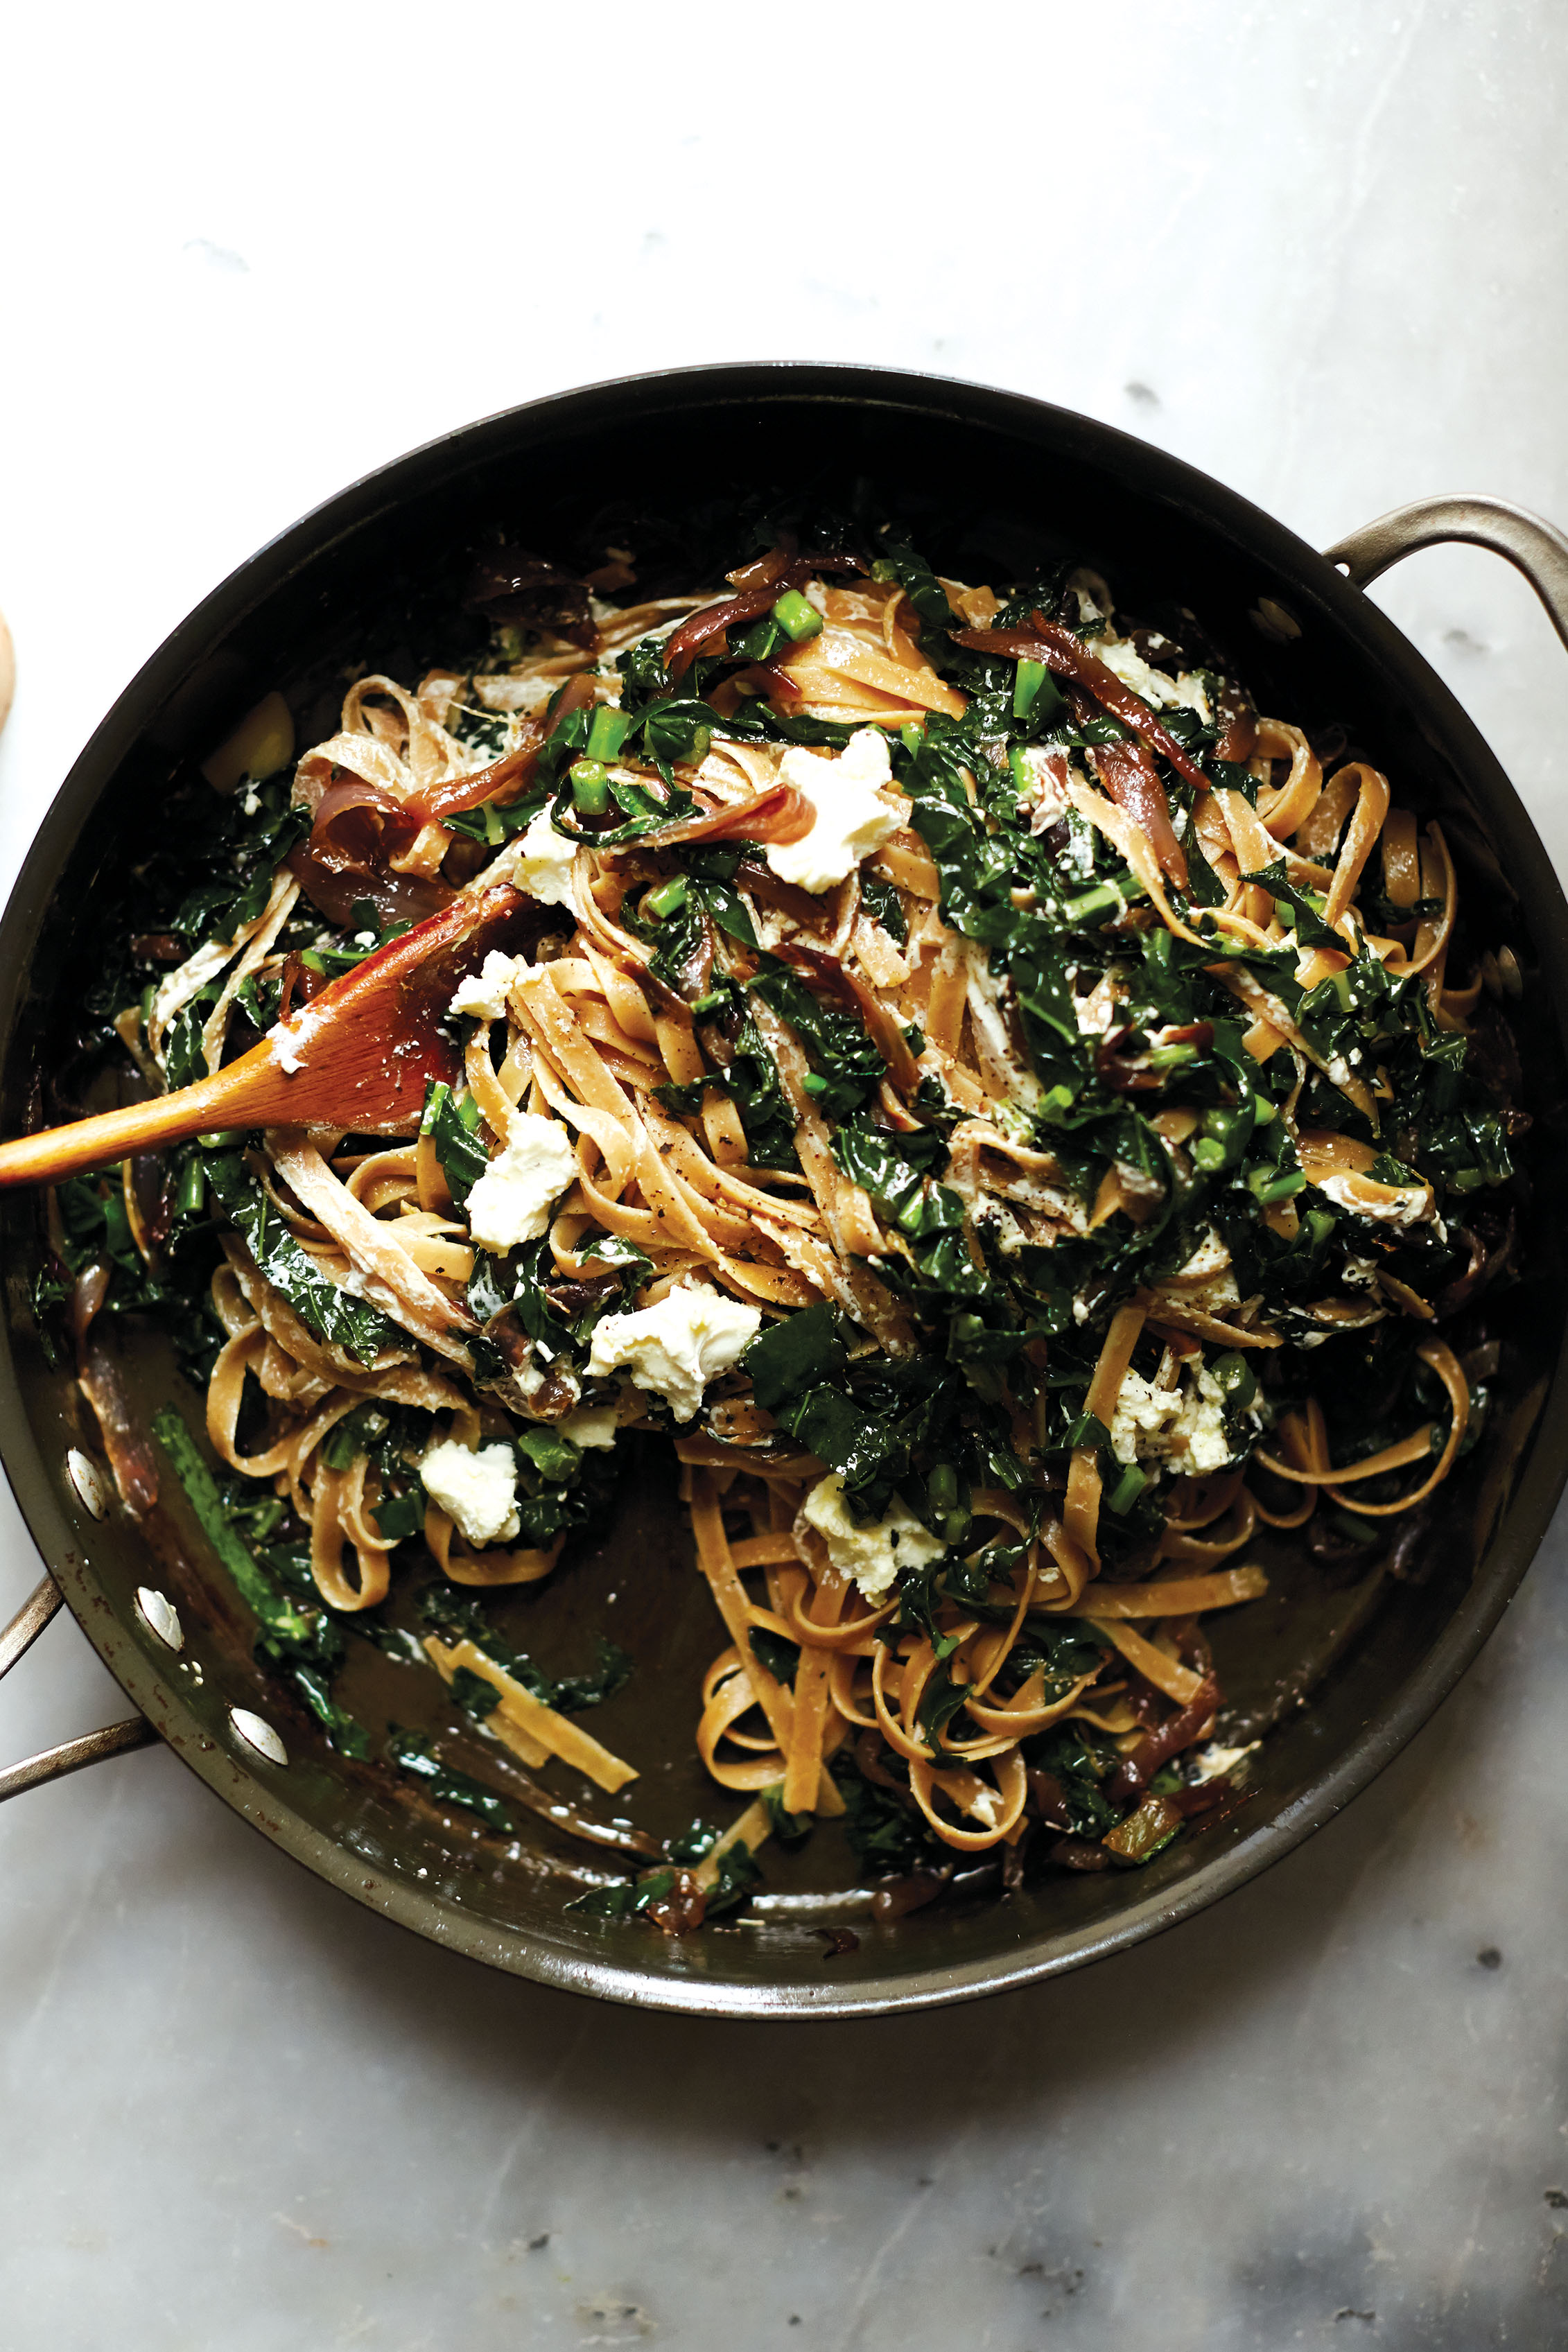
Yesterday I shared a book review of At Home in the Whole Food Kitchen, a new recipe book by New…
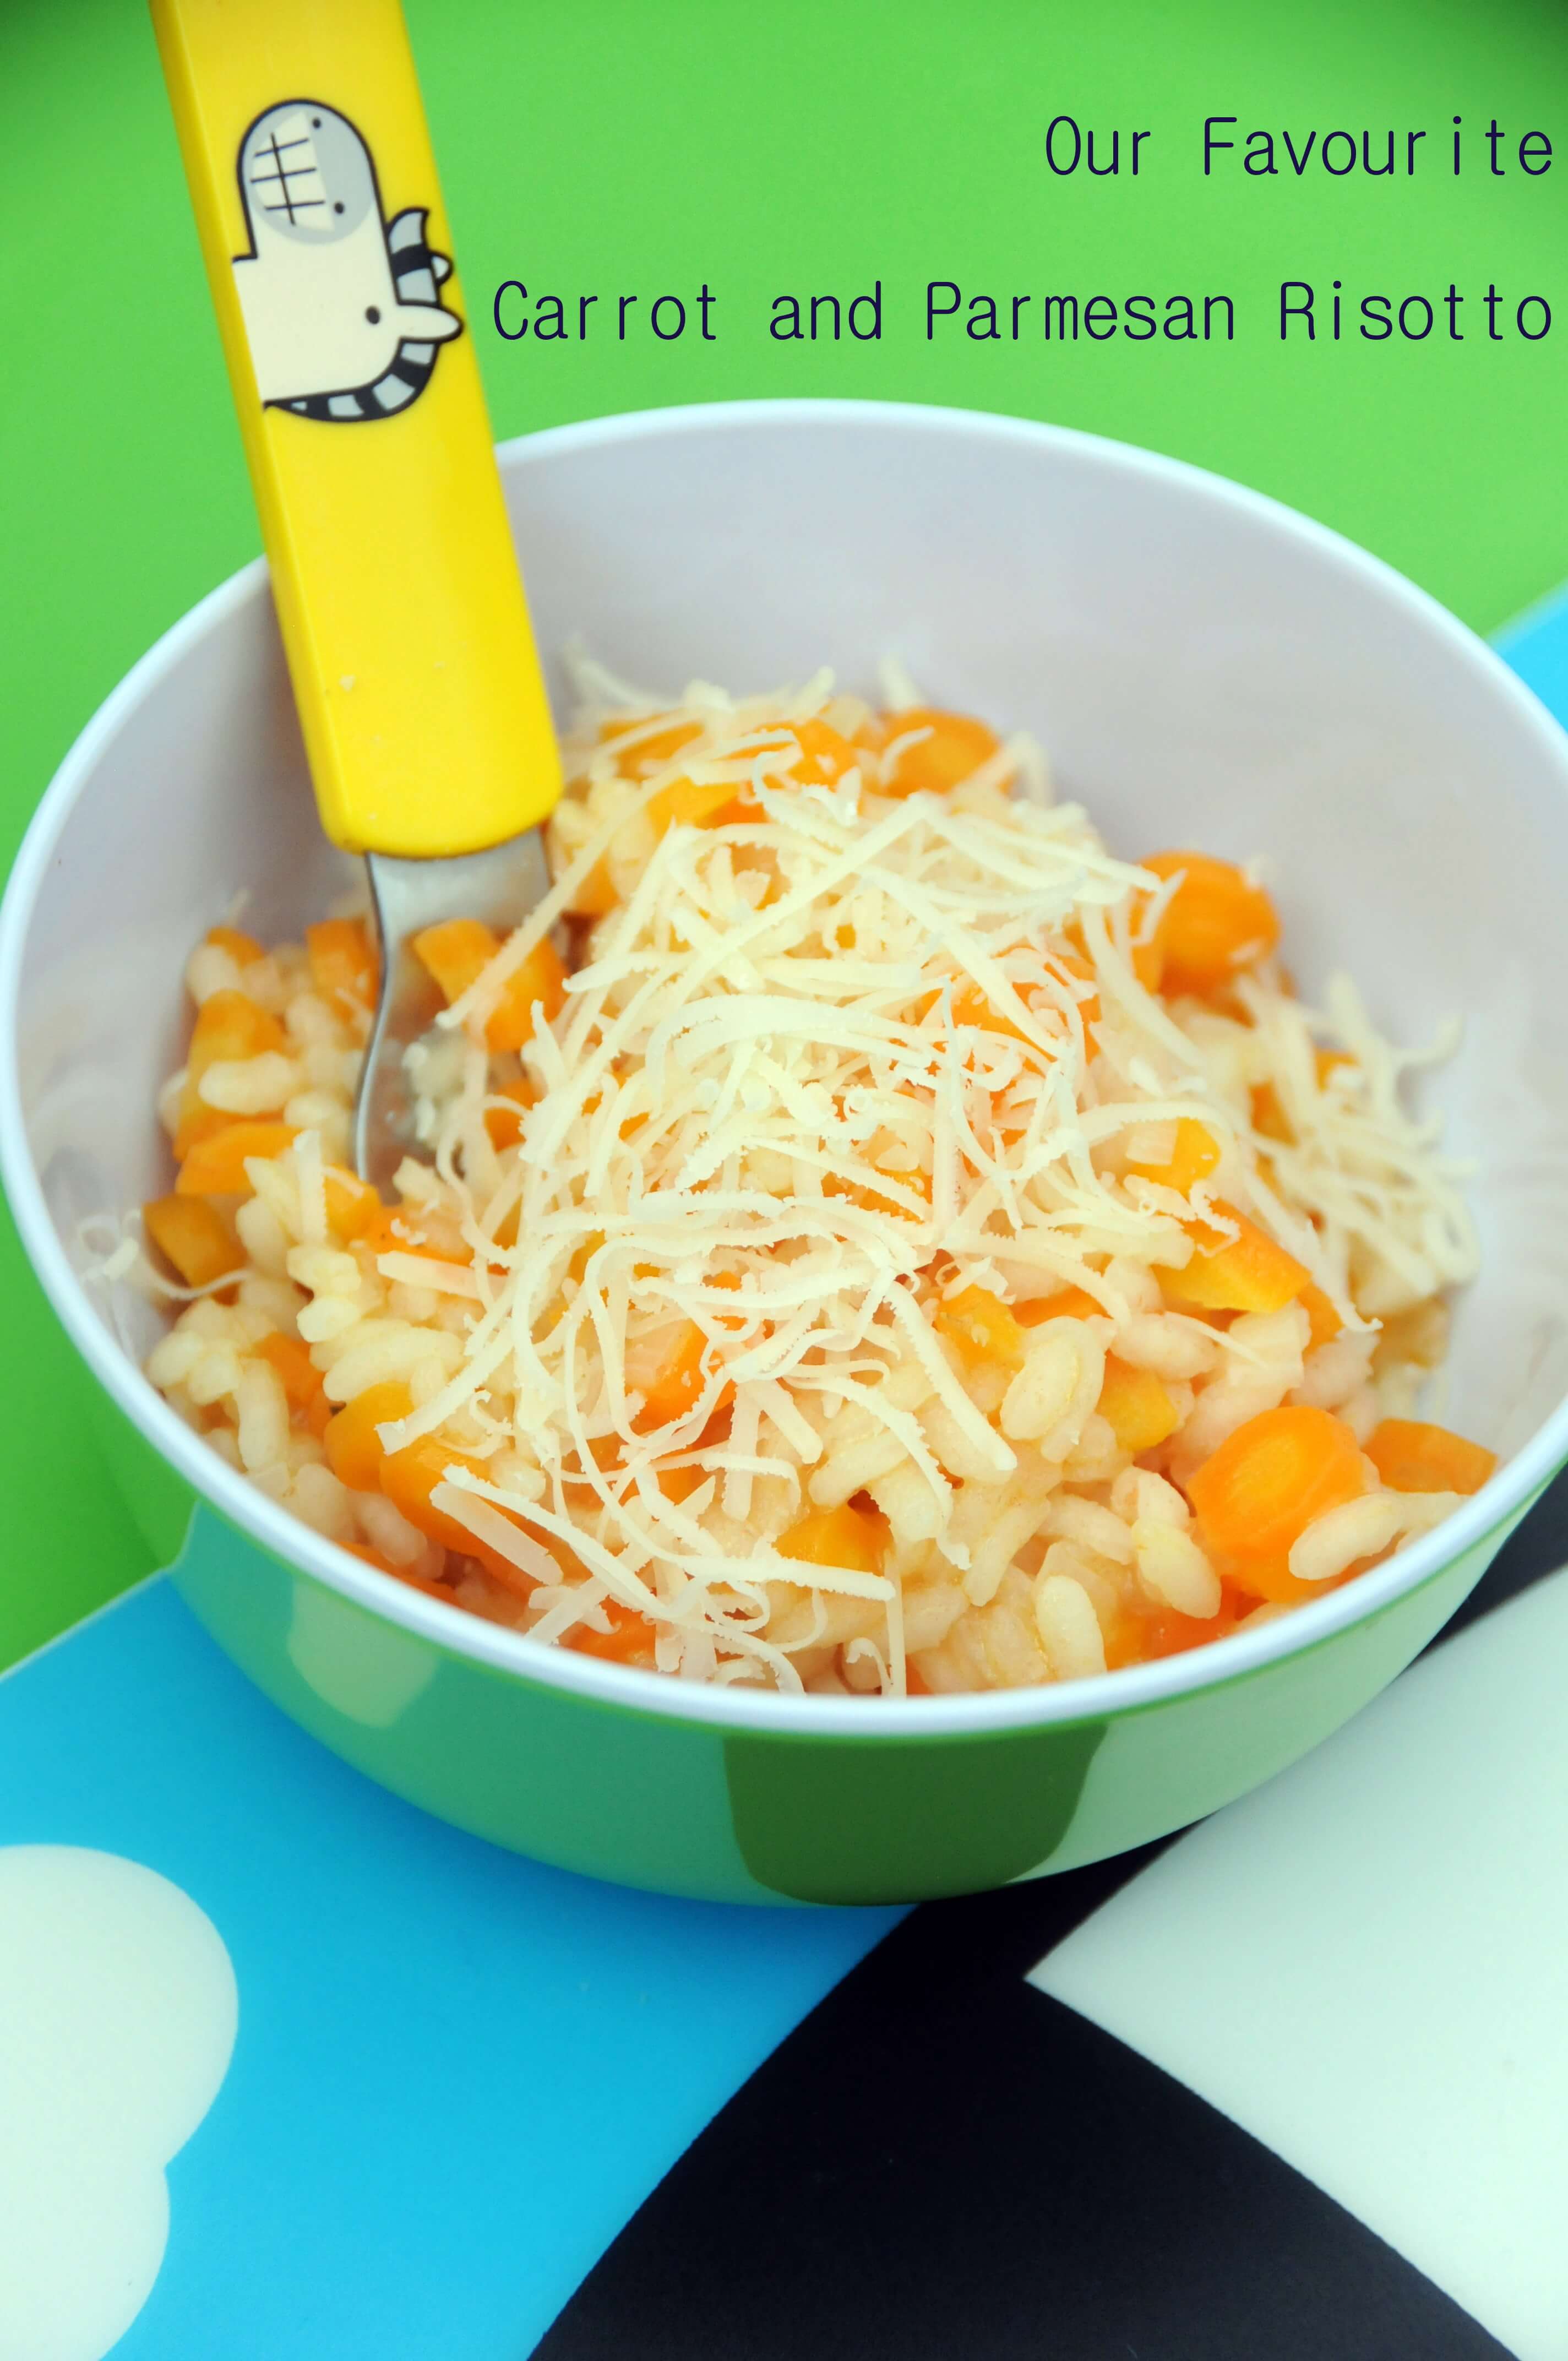
It’s always nice to find ways of making our favourite recipes a little healthier and this is especially true of…
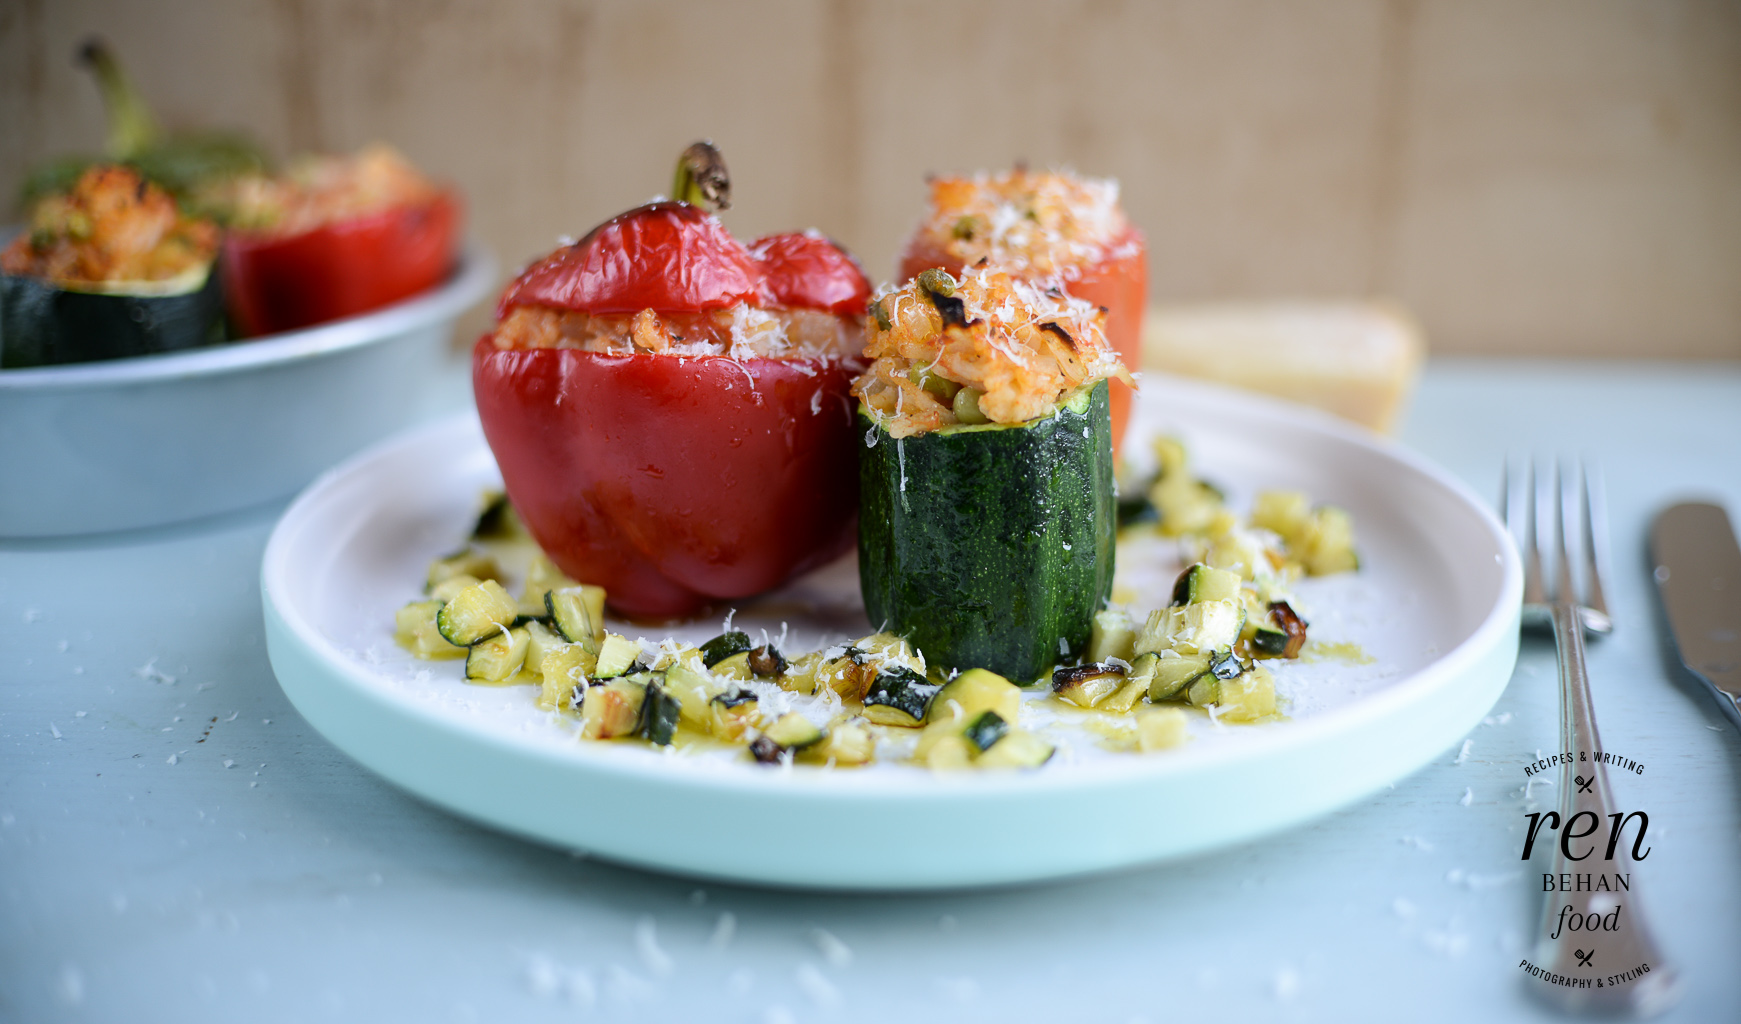
My mother (who is an amazing cook) can always make ‘something out of nothing’ and I’m hoping that this recipe…
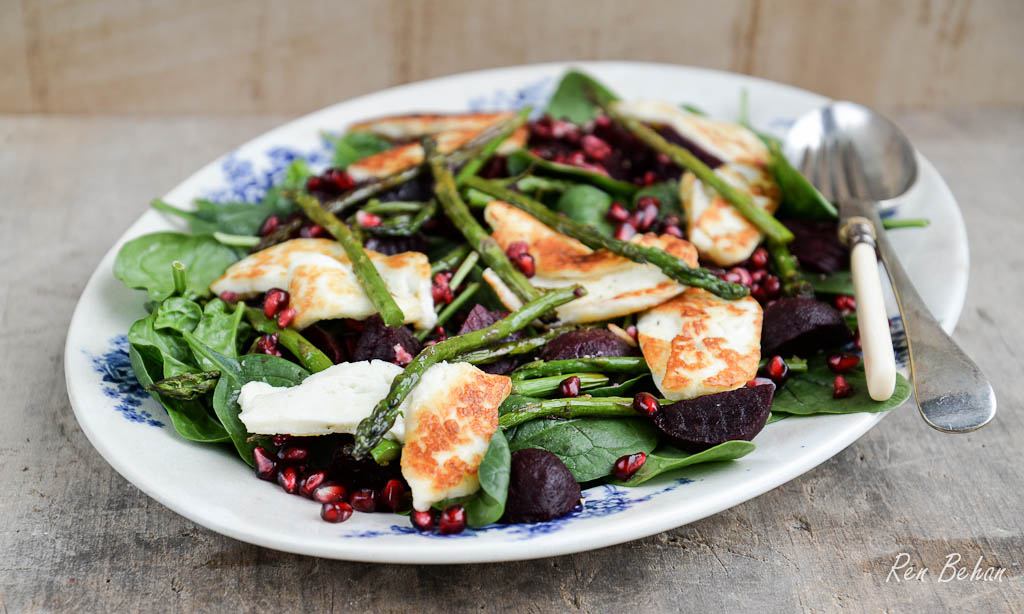
Hooray – foodies up and down the land are celebrating the start of British Asparagus season. It’s here for just…
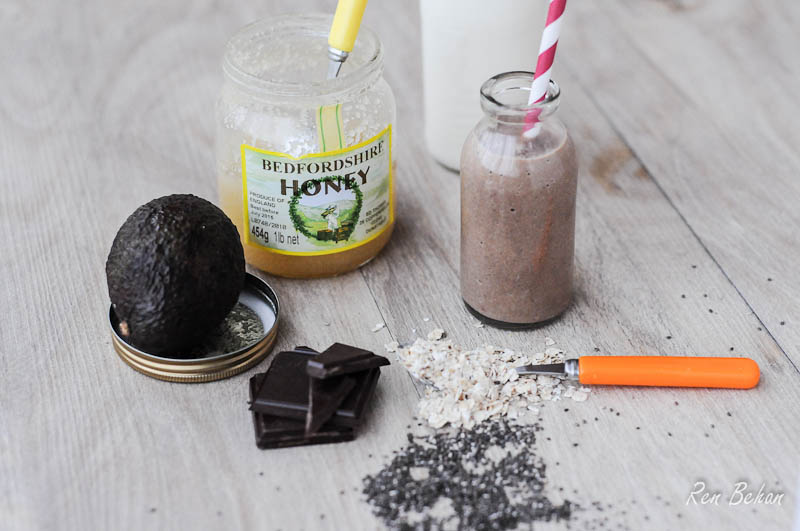
My children love chocolate and they’d ask for a sprinkle of cocoa every day if they could. Luckily, we manage…
On Saturday I was very lucky again to be invited back onto BBC Three Counties Radio as a guest on…
There comes a point at which you have to stop eating cake. It is a sad point, but one that…
I pretty much knew as soon as I opened River Cottage Veg Everyday, Hugh Fearnley-Whittingstall’s latest (and best-selling) televison tie-in,…
For the last couple of weeks I’ve managed to post a ‘family friendly’ recipe on my blog every Friday. Today…
I have to say that when I popped into my local Morrisons store this week, I did not expect to…
Having survived National Cupcake Week, my scales are pleased that we are now into British Food Fortnight. Whilst I could…
I was having a chat on Twitter earlier on with Jacqueline from Tinned Tomatoes about the lovely sunny weather today, which…
Last week I posted an interview with Vanessa Kimbell and hosted a competition to win a copy of her new book,…
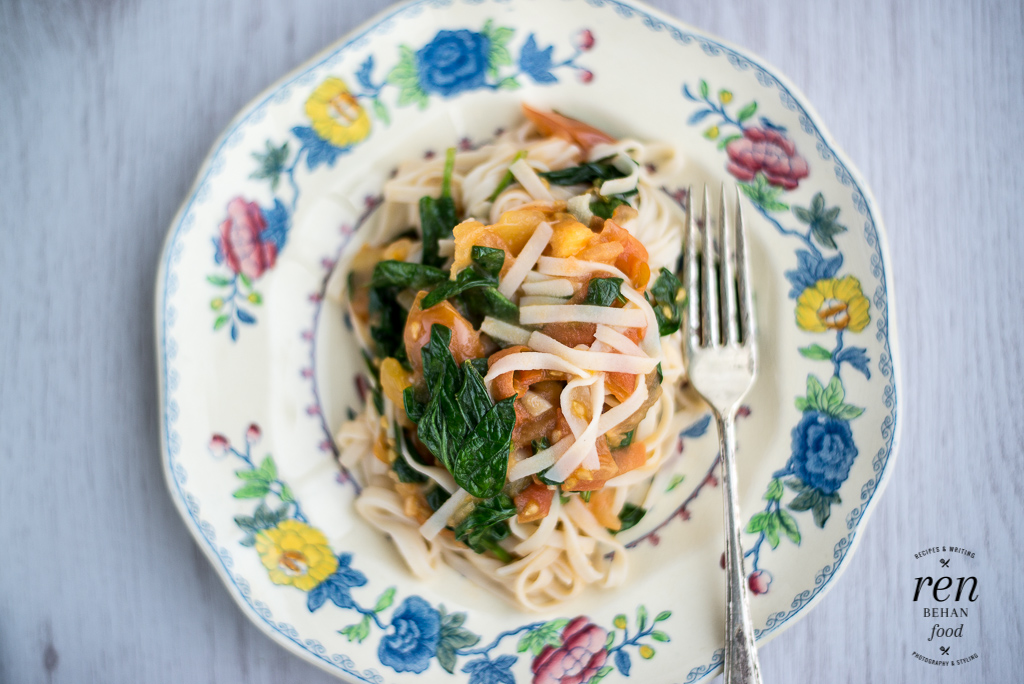
I was challenged by the lovely Giulia of Juls’ Kitchen to make fresh pasta for this month’s Monthly Mingle. This was such an…
It’s Meat Free Monday again which means I have a really lovely, easy recipe to share. This one is great…
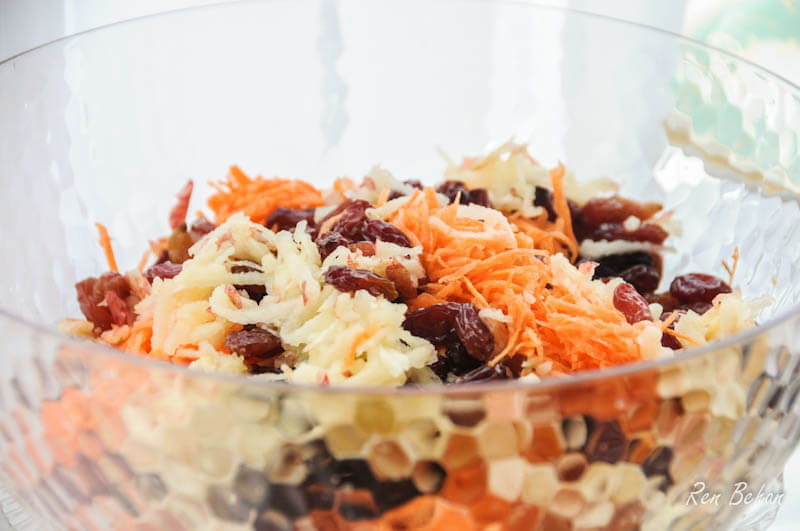
So, we are a week into the new diet ‘Healthy Eating Plan’ following the Christmas and New Year binge and things…